Poor installation can not only affect image quality but also create safety risks, unexpected rework costs, and costly project delays. This article will help you understand how to plan and complete an LED screen installation project. We will also analyze the standardized installation process and budget.
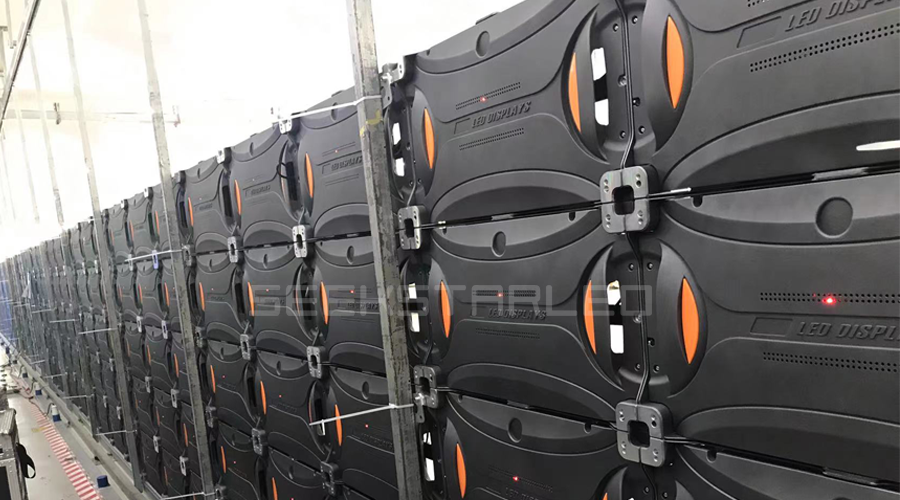
LED display installation is a complete engineering process involving structural support, electrical planning, hardware installation, system configuration, and final calibration.
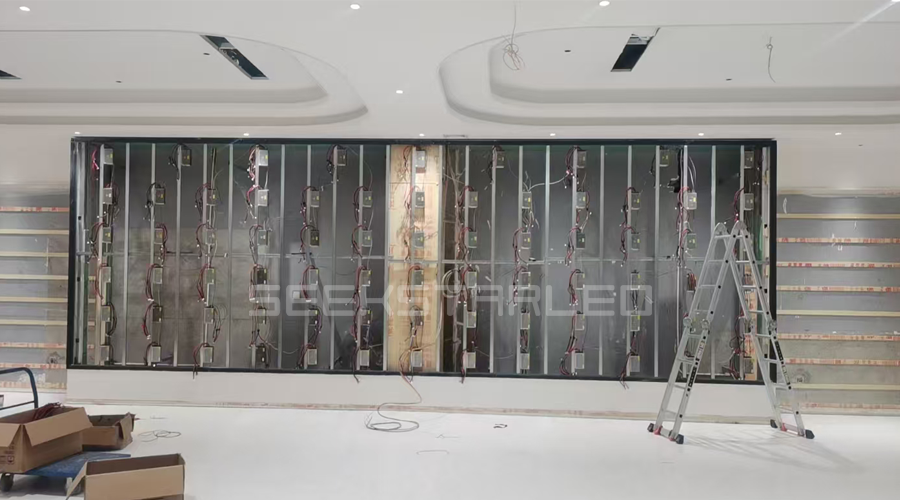
Improper installation of LED display screens may lead to poor visual effects, structural and electrical safety issues, and a reduced service life.
Poor Image Quality
The screen is uneven with gaps. This is one of the most common installation problems. A height difference of around 1mm between modules can create visible lines or broken images when displaying text and graphics. Causes include an uneven mounting frame, improperly aligned or tightened latches, or an inappropriate module installation order.
Structural Safety Concerns
Loose screen structures may pose safety risks, including potential falling risks. The supporting structure should be designed to meet local building codes and wind load requirements. Many LED screen installation failures are caused by structural frame issues, installation on non-load-bearing walls, loose bracket screws, and weak welds in steel structures.
Electrical Safety Issues
Most LED modules use a DC 5V power supply. Reversing the positive and negative terminals of the power supply will directly burn out the controller card or module. Insufficient power distribution capacity, lack of independent power supply circuits, and improper grounding may lead to power supply failures or even electrical fires.
Shortened Lifespan
If outdoor LED screens are not properly sealed and waterproofed on the rear, rainwater can lead to corrosion and short circuits. Insufficient ventilation space and the lack of cooling fans or air conditioning during outdoor screen installation will cause heat buildup, hastening the aging of LED components and power supplies and shortening the lifespan of the LED display.
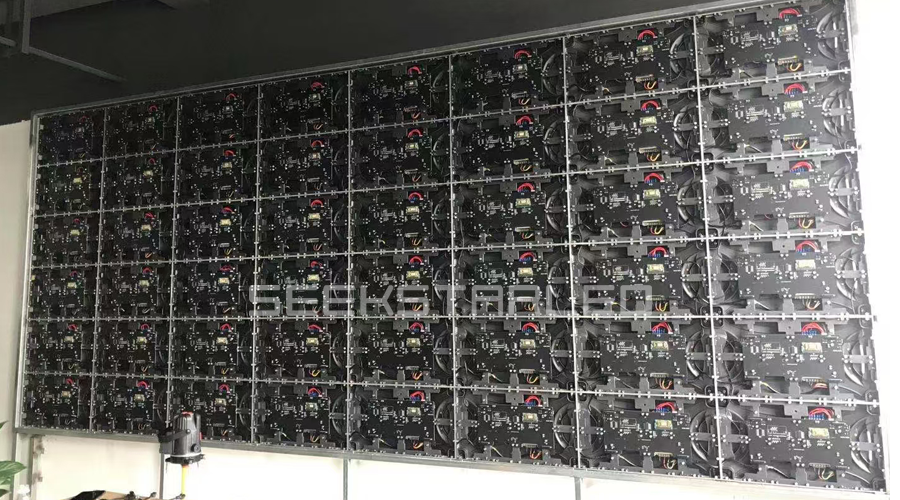
In every project, installation begins with a professional site survey before the LED screen arrives. The following factors should be confirmed before installation.
A site survey isn't just a simple glance at the location. Before placing an order for the screen, you should capture the installation site's critical parameters and prepare a survey report. A detailed survey report helps avoid common problems, such as incorrect screen dimensions, unsuitable mounting structures, and unexpected installation costs.
You need to measure the width and height of the mounting area and verify it matches the approved drawings. If the screen is to be embedded and the measured dimensions vary greatly, the drawing must be revised. Otherwise, the screen will not fit on site or will leave an unpleasant gap.
We recommend reviewing construction drawings or performing an on-site inspection to identify the wall structure. Lightweight walls are not suitable as load-bearing structures. In this case, we suggest using a floor-mounted structure or hanging.
It is necessary to check the location of the on-site distribution box and the cable routing distance from the installation site. You should also record whether the current power source is single-phase or three-phase, as well as the overall capacity. If the capacity is insufficient, you may advise the client to increase cable size and upgrade power capacity.
By observing the lighting conditions at the installation site, you can evaluate if a high-brightness screen is required. The existence of variables such as salt spray, dust, oil fumes, or other corrosive factors will also influence the choice of protection level.
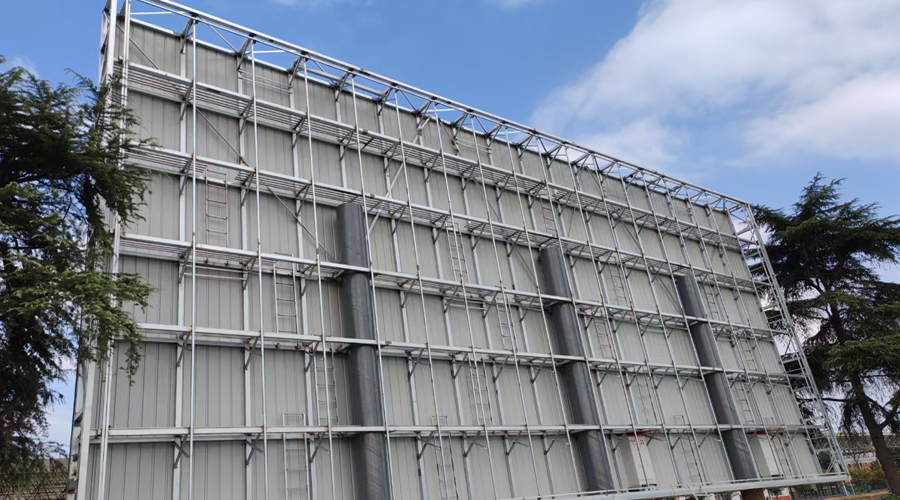
For outdoor projects, wind load calculation is one of the most important steps in structural design. The structural design must be based on local wind load standards to calculate wind pressure, with an additional safety margin considered during design. Key reinforcement points include the embedment depth of the parts in the columns, the density of welds, and the anti-loosening treatment for the cabinets' connecting bolts.
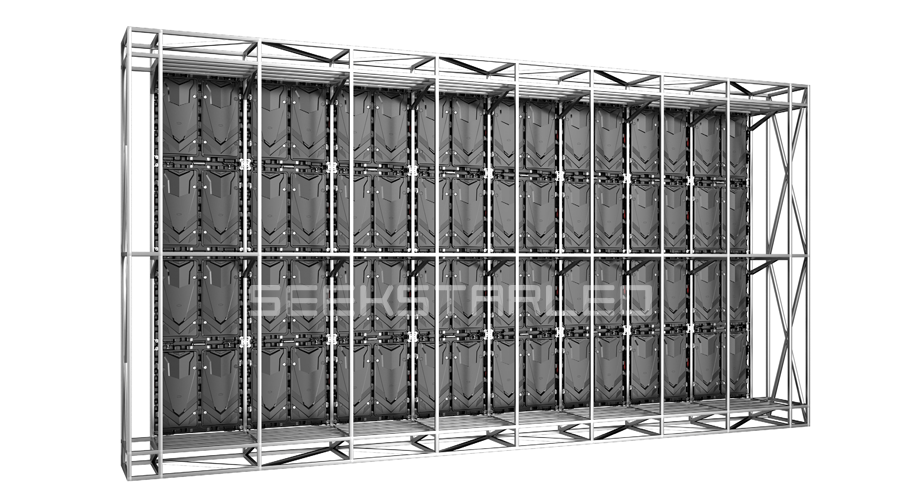
The steel structure is directly attached to the load-bearing wall, and the screen is attached to its surface, achieving a seamless appearance.
Applicable Scenarios: Indoor LED walls, shop signs, meeting rooms.
Key Requirements: The wall must have load-bearing capacity, and a safety margin should be provided in the engineering design. It should be suitable for installations with modest depth.
Advantages: Small footprint, clean appearance, and minimal material costs.
Disadvantages: Requires specific wall conditions; limited maintenance access; usually requires a front-maintenance design.
The screen is hung from a top-mounted framework using steel cables, hangers, or trusses.
Applicable Scenarios: Shopping mall atriums, transportation lobbies, store windows
Key Requirements: The upper structure has pre-embedded hanging points or load-bearing steel beams. It is suitable for situations where it is hard to build supports on the ground or where a floating screen visual appearance is desired.
Advantages: Does not require any ground space; produces a clean and beautiful visual effect.
Disadvantages: Requires sufficient load-bearing capacity from the top, complex installation, and maintenance requiring climbing equipment.
The screen is installed on a freestanding structure or base, standing on the ground without requiring wall support.
Applicable Scenarios: exhibition halls, conference rooms, stage backdrops.
Key Requirements: The installation surface should be flat and firm. If the height of the screen reaches a specific height, anti-tipping supports must be added.
Advantages: Not limited by wall conditions; if equipped with a wheeled base, the screen can be moved; easy to install and maintain.
Disadvantages: Takes up floor space; tall screens require reinforcement to prevent tipping;
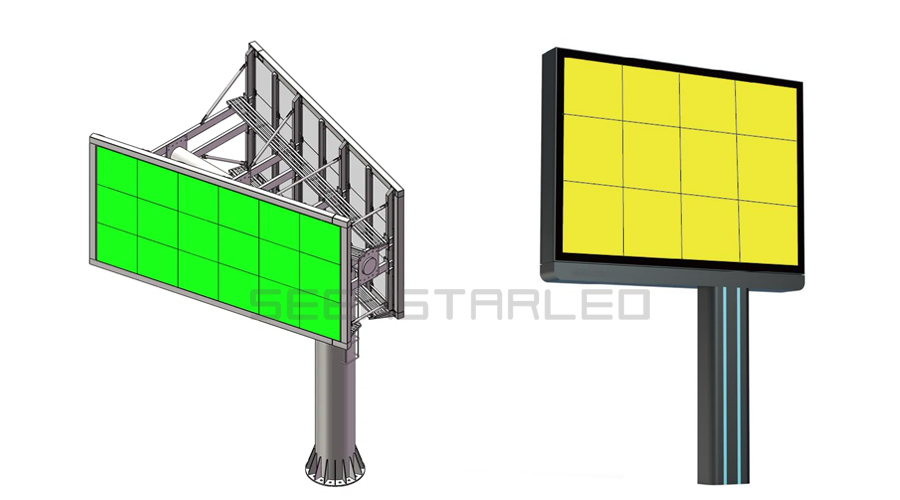
The screen is mounted on one or more metal columns that are placed in an underground concrete foundation. This is one of the most popular solutions for fixed outdoor installations.
Applicable scenarios: outdoor plazas, roadsides, and stadiums.
Key Requirements: This method requires excavating a foundation pit, pouring a reinforced concrete foundation, pre-embedding anchor bolts, and allowing the foundation concrete to dry before installing the columns and screen. You also need to calculate the foundation's overturning resistance and the soil bearing capacity under wind loads. In areas with soft soil, additional pile foundations or an enlarged foundation area are required.
Advantages: Independently load-bearing, not dependent on buildings; can be displayed on both sides.
Disadvantages: Large amount of civil engineering work, long construction period; foundation cannot be moved; overall cost is relatively high.
The screen is installed in a predetermined recess in the wall, with the screen surface flush with or slightly projecting from the wall.
Applicable scenarios: building curtain walls, hotel lobbies, museums.
Key Requirements: Embedded installation requires pre-drilling holes during the building's structural construction. If you decide to install the screen only after the renovation is complete, you will need to demolish part of the wall and remodel it, significantly increasing costs and difficulty.
Advantages: Integrates seamlessly with the building structure and does not occupy additional space.
Disadvantages: Normally suited for front maintenance; rear maintenance is limited by space limits and necessitates careful consideration of ventilation and heat dissipation.
Before installation, you need to ensure the site environment matches the installation requirements. Based on the survey report, double-check the installation location's dimensions and compatibility with the display screen. If your screen will be used outdoors, you should additionally take appropriate waterproofing and lightning protection measures. Preparing the necessary materials is also essential. Specific details are as follows:
Materials: LED modules or cabinets, power supplies, distribution cabinets, video processors, receiving cards, steel structures, cables, etc.
Whether your screen is mounted directly as a module or in a cabinet, the steel structure needs to be installed and fixed first.
Using the design drawings, find and mark all fixing places on the wall.
Calibrate using a laser level, then drill holes in the wall and install expansion bolts.
Hoist the steel structure frame into place, fasten the bolts, and use a level to ensure the frame is flat. Even little unevenness can cause gaps or warping when the screen is placed, reducing the display effect.
At this step, direct magnetic module installation differs from cabinet assembly. The installation is generally done from bottom to top, left to right, layer by layer.
When installing modules directly, you usually need to first install the power supply and receiving card on the structure, then connect their power and network cables, and finally connect the module's power and ribbon cables before mounting it on the structure. If you find the screen is uneven, you can adjust it by checking and adjusting the height of the module's magnetic pillars.
If the screen uses a cabinet, you need to install it onto the structure first. Outdoor screen modules are normally screwed to the cabinet. You simply need to complete the interior electrical connections. Indoor screens require connecting the connections between cabinets before magnetically attaching the modules to the cabinet. All ribbon cables and network cables shall be properly connected to ensure proper contact.
First-Time Power-on
After verifying that all wiring connections are correct, turn on the control computer, followed by the main power switch for the display screen. Monitor the display for proper power-up and immediately check for any sign of smoke or burning odors. If any is found, disconnect the power immediately and troubleshoot the issue.
Software Debugging
Open the control software (such as Novastar, Colorlight, etc.) and select the appropriate screen specifications based on the pixel resolution, module parameters, and receiving card connection order.
Set the appropriate brightness based on the environment. If your outdoor screen has a brightness sensor, we recommend activating the sensor's automatic dimming option. Decreased brightness at night can help save energy and prevent light pollution.
After software debugging, you may save the configuration file in the software and back it up for easy restoration later.
Following installation, conduct a final inspection to ensure the LED display system meets the project specifications and finalize the handover.
Display Effect Test: Pure Color Test, display red, green, blue, and white on the full screen, checking for dead pixels, dark lines, and color blocks.
Grayscale test: Check whether the grayscale transition is smooth.
Scanning test: Play dynamic video and text to check whether there is smearing or flickering.
Before the end of the project, you may deliver on-site practical training to the customer's technical staff. The content covers the skills required in daily usage scenarios.
Control system software operation: how to play preset content, switch input signal sources, and adjust brightness and color temperature.
Daily broadcast content updates: how to upload new programs via USB flash drive, LAN, or cloud platform.
Simple troubleshooting: If a module does not work, first check the signal and power cables for loose connections, then check the power supply.
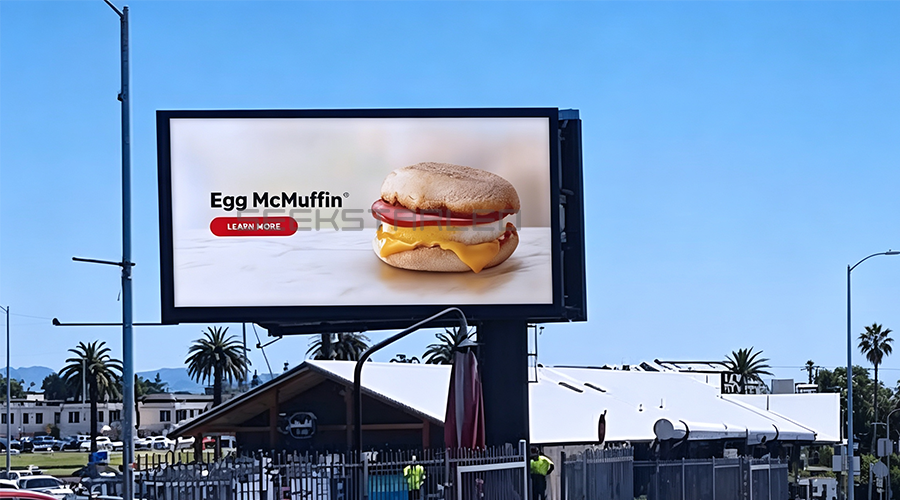
Do you ever wonder why different projects' installation fees can be increased for the same screen? The reason is the cost of installing an LED display is not fixed. A variety of factors will influence it, including screen size, installation method, site conditions, steel structural requirements, and local construction regulations. Therefore, you need to do customized cost accounting based on the unique conditions of each project. The table below compares the costs of various installation methods.
Installation Method | Cost Level | Primary Cost Drivers |
Wall-mounted | Low | Simple structural design; minimal steel consumption |
Hanging | Moderate | Requires lifting equipment and fall-protection systems |
Floor-standing | Moderate | Requires independent support frame or base |
Pole | High | Involves civil foundation work and heavy steel structure |
Embedded | Medium-High | Requires precise coordination with building structural opening |
Q1: How long does installation take?
The installation time varies according to the complexity of the project. Small indoor projects usually take 1-3 days, and medium to large projects require 3-7 days. Giant LED displays or creative LED displays can take several weeks to complete.
Q2: Do I need a steel structure?
Yes, it is required in most cases. The LED display is a precision electronic device that cannot be directly mounted on a wall or placed on the ground. The steel structure serves as the skeleton for connecting the screen to the building.
Q3: How much power is required?
Actual running power consumption is typically less than maximum power consumption. It’s influenced by the content being played, brightness settings, and usage time. We recommend calculating power distribution capacity based on peak power consumption, screen area, and ambient brightness.
Q4: What tools are required?
The tools needed for each project will differ according to the installation method, screen size, and building environment. We recommend that you prepare a comprehensive set of tools and safety equipment ahead of time to guarantee a successful installation process. The primary tools required for installation are as follows:
Measuring tools: laser level, measuring tape
Installation tools: electric drill, hammer drill, screwdriver, wrench, LED module suction tool
Electrical tools: multimeter, network cable tester, cable tools
Safety tools: anti-static gloves, safety belt, safety helmet, etc.
Q5: Do I need professional permits or licenses before installing an outdoor LED screen?
Yes, most countries and regions require them. Outdoor LED screens are generally classified as large outdoor advertising facilities. An application must be submitted to the local city management department, and installation can only proceed after approval. The approval process mainly reviews location planning, structural safety, and impact on the lighting environment. It is recommended to consult with the local authorities before purchasing screens to ensure the project proceeds legally.
Q6: How often should installed LED displays be inspected?
There is no standardized inspection frequency for LED displays. It primarily depends on the usage environment, operation time, and installation type. In general, indoor LED displays should be inspected every 6-12 months. Outdoor LED displays should be inspected every 3-6 months, especially after being exposed to harsh conditions such as strong winds, heavy rain, and high heat. The key examinations should cover display quality, wiring connections, screen waterproofing, and heat dissipation.
A suitable installation method, reliable structural design, power planning, and skilled technical assistance are crucial for an LED display project. Please contact our technical team if you are looking to build an indoor LED video wall, an outdoor advertising screen, a stadium LED display, or a custom LED display solution. We will provide you with installation recommendations, steel structure and installation plan guidance, drawings, and full-service technical support for your project.


 English
 日本語
日本語 français
 Deutsch
 Español
 italiano
 русский
 português
 العربية